Add Wefts to a Hair Topper or Wig for Volume
Disclaimer: Please note that some of the links below are affiliate links and at no cost to you I will earn a commission if you purchase through those links. See my Disclosure + Privacy Policy for more info. As an Amazon Associate, I earn from qualifying purchases.
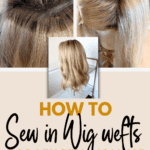
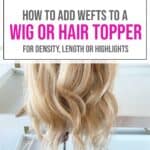
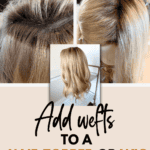
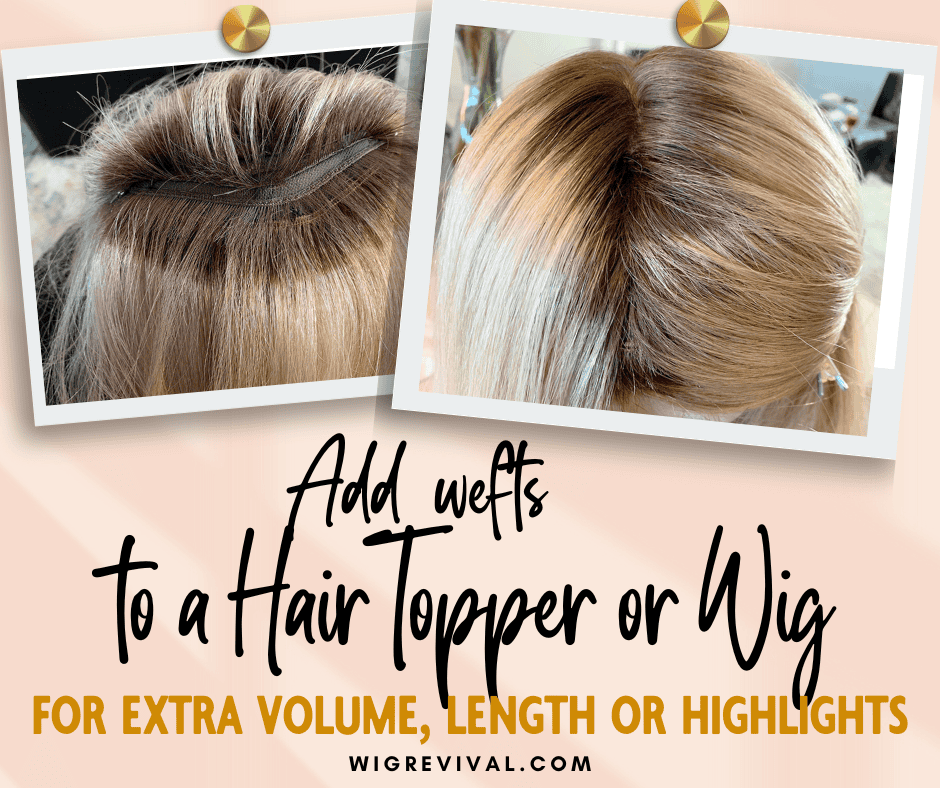
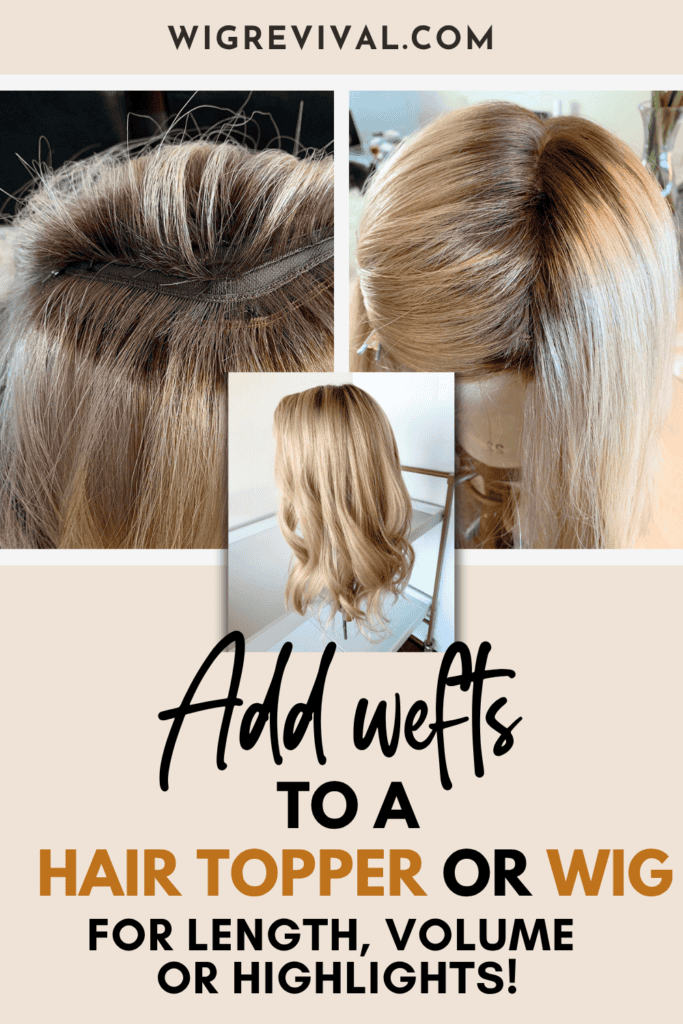
Learn how to add wefts to a hair topper or wig by sewing them in with this step-by-step tutorial! Perfect for enhancing volume, adding length, or blending in highlights for a natural, fuller look. For more hair topper posts, see my Wig Revival page.
I was so excited when I got my very first human hair topper—the moment I tried it on, I was hooked. It felt incredibly soft and looked unbelievably natural. But in all my excitement, I totally overlooked one important detail: the density.
I didn’t realize it was a 120% density topper, which is considered medium. While I actually prefer low-density toppers (since they lay flatter and are more undetectable), I was just thrilled to finally have one.
The topper I chose was a rooted, light dimensional blonde, with a 6 x 6.5 cap base and 18 inches in length. It featured wefts sewn along the edges and was made from a blend of Brazilian and European hair—both known for being soft and fine-textured.
After a few wears, I started to notice something a bit concerning: I could feel some of the wefts under the crown sticking out. I worried that if the wind blew or someone was behind me, those wefts might be visible.
It was a learning moment—but one that taught me the importance of paying attention to cap construction and density before clicking “buy.”
MORE POSTS LIKE THIS
I was able to fix the problem by adding hair wefts underneath the sewn-in wefts that were already in the cap and by adding a few wefts right under the crown section that was bothering me.
The best part about adding the new wefts is that they made the topper longer! Into a 22-inch instead of an 18-inch! Score!
I was unable to find rooted Brazilian human weft hair extensions. I ended up having to color some wefts I did find to use.
This post is going to be rather long. There is a lot to go over, like when you color blonde hair brown when using human weft hair extensions. You do not need to read the coloring process if you are using the correct color wefts or synthetic weft hair. I broke the post up into sections. Use the Table of Contents below to skip around.
Adding Wefts to a Hair Topper or Wig

Where to Find Human Weft Hair Extensions:
I searched everywhere online and ended up finding some Brazilian hair blonde wefts on Amazon. It was tough to find Brazilian wefts that were one, actually Brazilian hair, and two, of the same quality as the hair topper I purchased.
With Amazon, you just have to read the reviews and take a chance. I was unable to find traditional human hair wefts. I ended up buying a clip-in type weft hair extension set and took them apart. I removed the clips and separated the wefts.
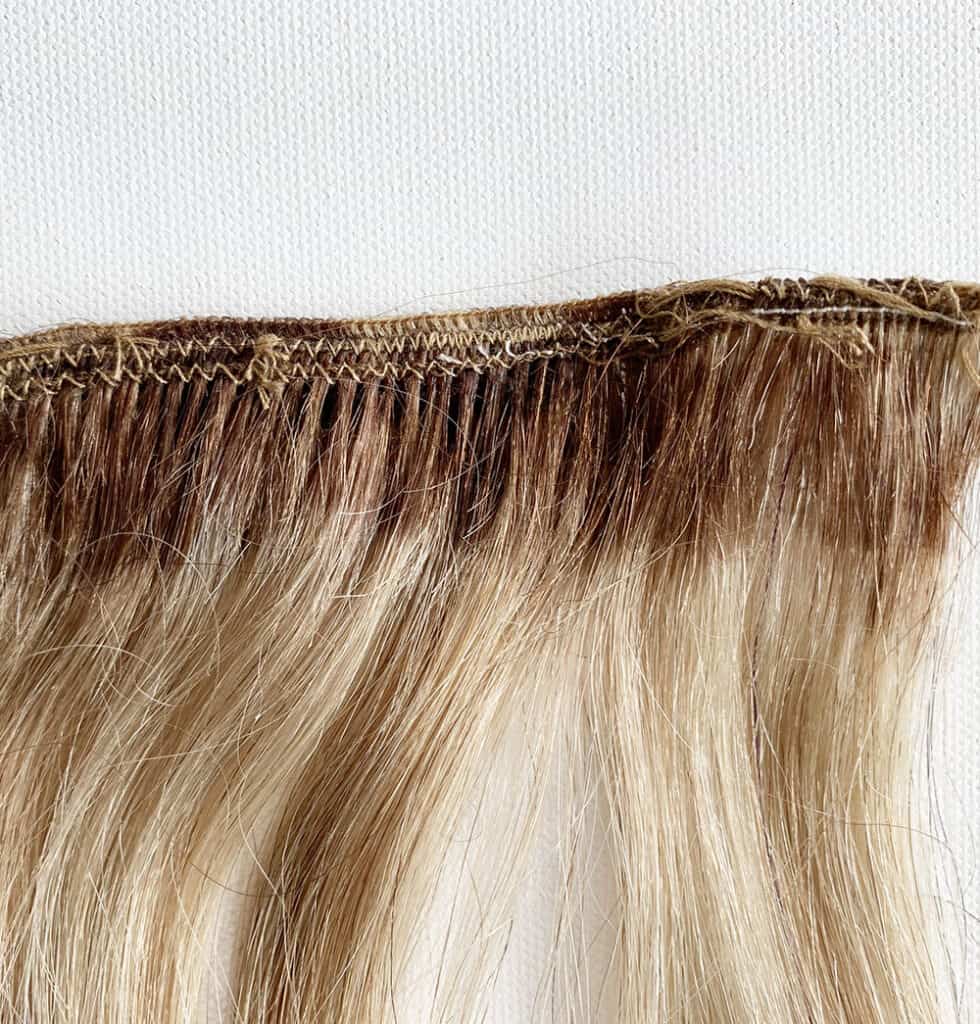

In my search, I was looking for single weft strands (right pic); most wefts are two stitched strands of hair sewn together (left pic). The one with the two stitched strands is folded in half and then sewn together.
You can just use a seam ripper to separate them and make one long strand of hair.
I bought 120 grams of Brazilian Remy 18-inch straight wefts in color 18/613. I ordered them in 18-inches to add extra length to the topper.
NOTE: You may be able to find Brazilian wefts at beauty supply stores. My local Sally’s Beauty Supply had gorgeous quality hair wefts for around the same price as Amazon. Hair wefts can run anywhere from $50-200+. You also may be able to find wefts that are already rooted these days, so you can skip the dyeing process tutorial below.
Adding Roots to Blonde Human Hair Hair Extensions
If you are unable to find Hair Extensions without dark roots, I show you how to color the root area of the wefts darker in this post.

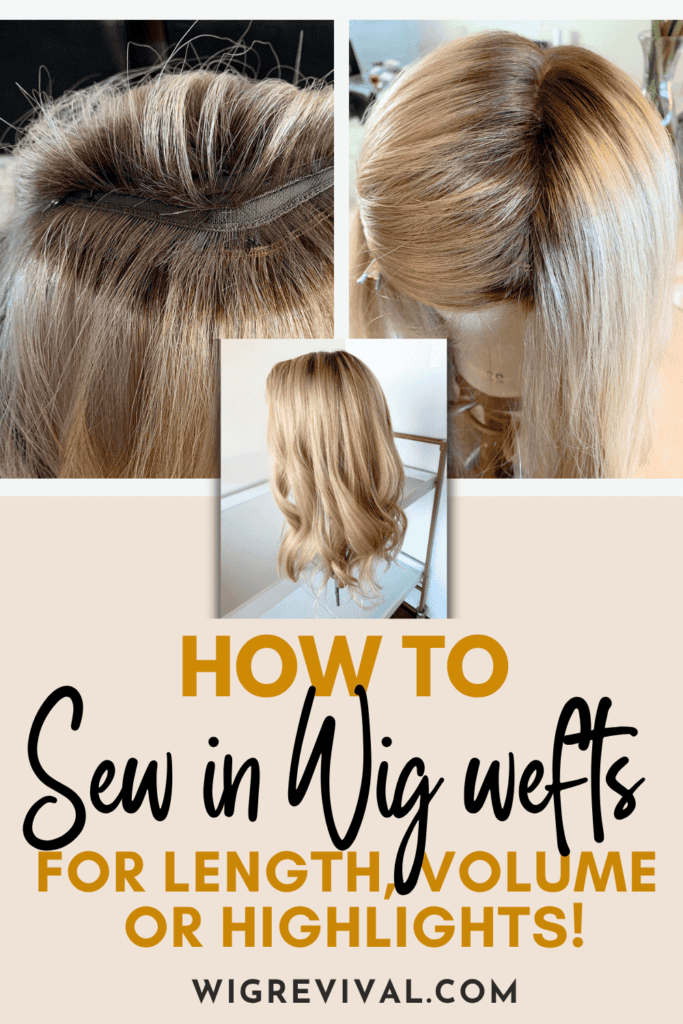
Sewing Wefts into a Wig
How to Sew in Wig Wefts using Hair Extensions
Sewing in wig wefts is done the same way as adding hair to a topper. You need synthetic or human hair wefts (depending on the wig), in the color you’re going for. You can add highlights, length or volume by sewing in wefts.
The process for adding wefts to a wig is the same for a topper; just follow the same instructions for stitching them in below.
Add Wefts to a Hair Topper:
SUPPLIES:
- Curved or heavy-duty needles
- Polyester Thread
- Hair Wefts
- Wig T-pins
INSTRUCTIONS:
- Secure the topper or wig onto a canvas head with wig pins.
- Determine the area to add the wefts and clip the hair back with clips to hold it secure.
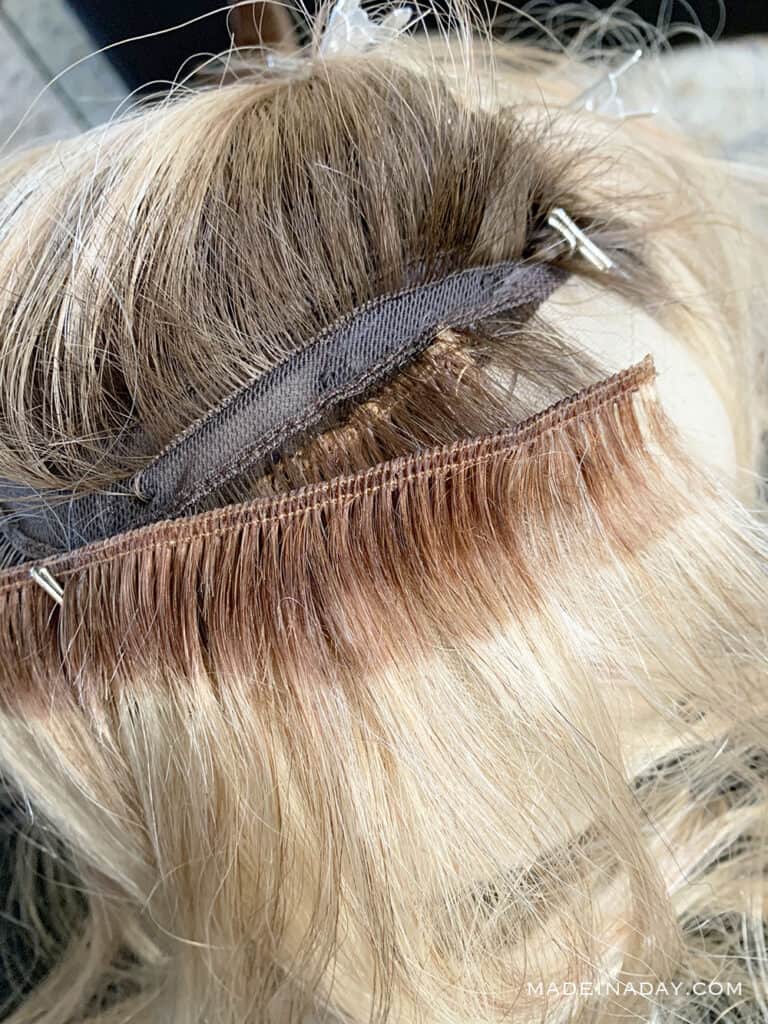
- Lay the new wefts under the original wefts and pin them into place with wig pins.
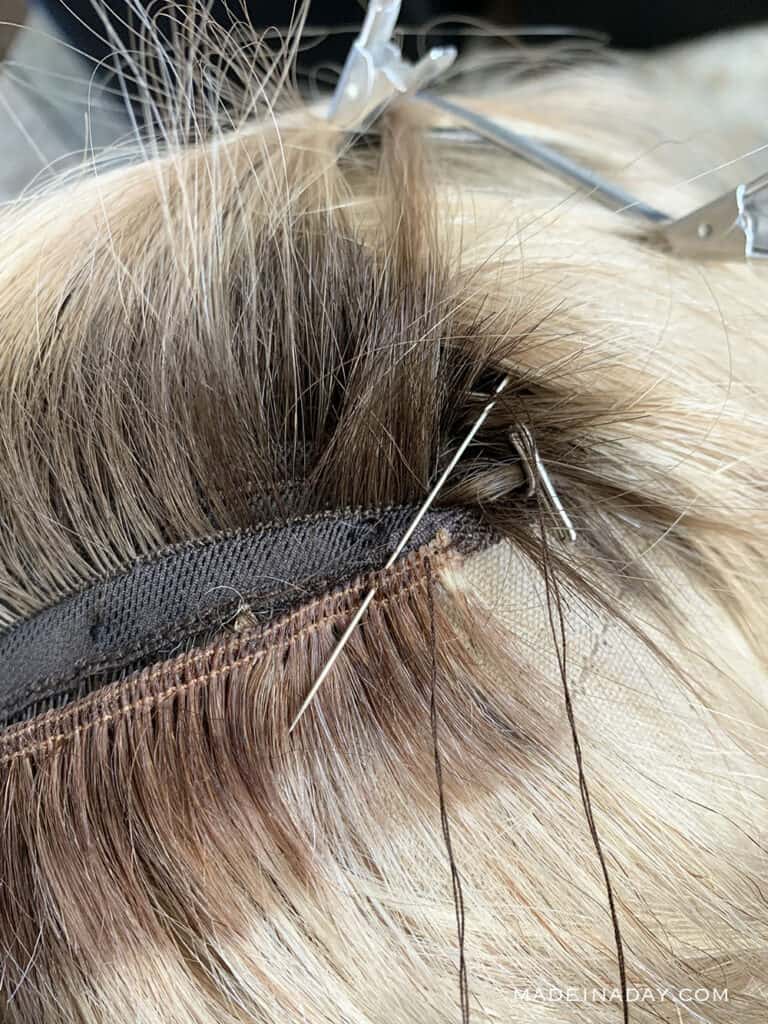
- Sew the wefts to the original wefts with a curved carpet-type needle or a heavy-duty straight needle.
- When securing the weft, go through the topstitched sewn area of the original weft when stitching.
TIP: I use strong polyester thread. I prefer to use a backstitch technique to make sure it is secure. Be careful when stitching into the stretchy cap fabric, it is delicate and can tear.
- Move around the base area from side to side.
I added 5-6 wefts going down the back and the sides of the topper. You may need more if your base is larger than 6 x 6.5. I had a lot of wefts left over to use, so 120 grams of hair may be enough for a slightly larger base.
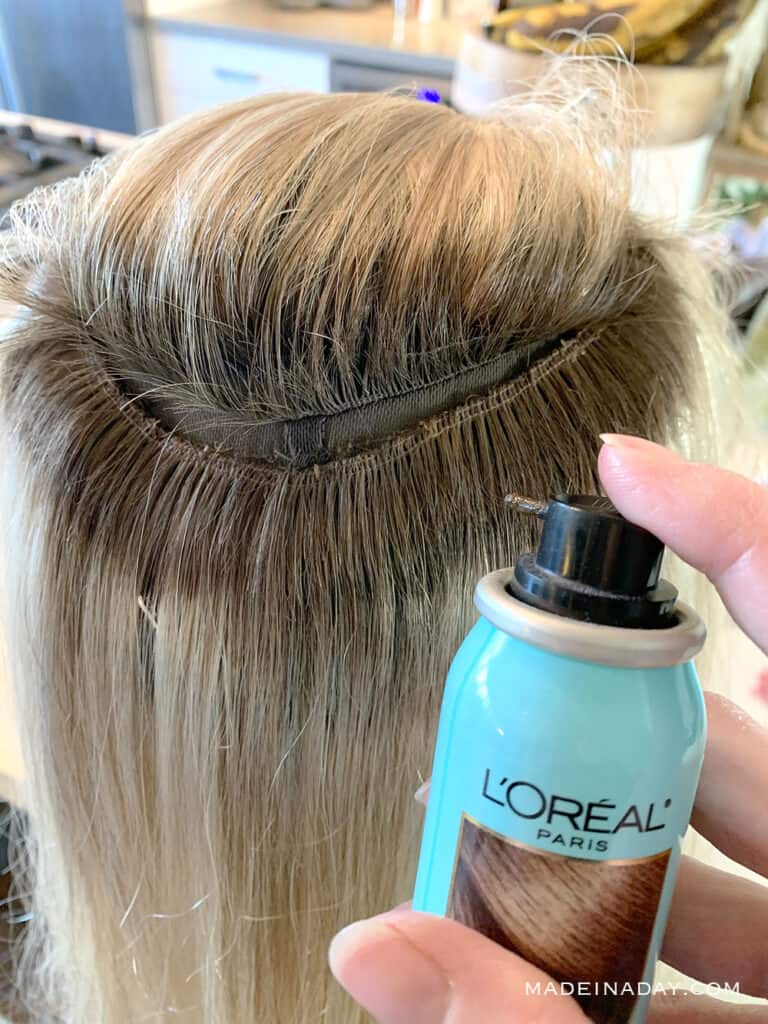
NOTICE: I wasn’t happy with the color of the roots on this batch of hair wefts. I forgot to add in my blue base, so they ended up goldish red. I used Loreal Root Spray in Light Golden Brown to cover the roots of the wefts. This blended them in perfectly.
The cool thing is the root spray doesn’t wash out that easily. I haven’t had to touch up the roots and I have washed it several times. The root spray also hides the sewing machine stitching on the wefts. Win-win!
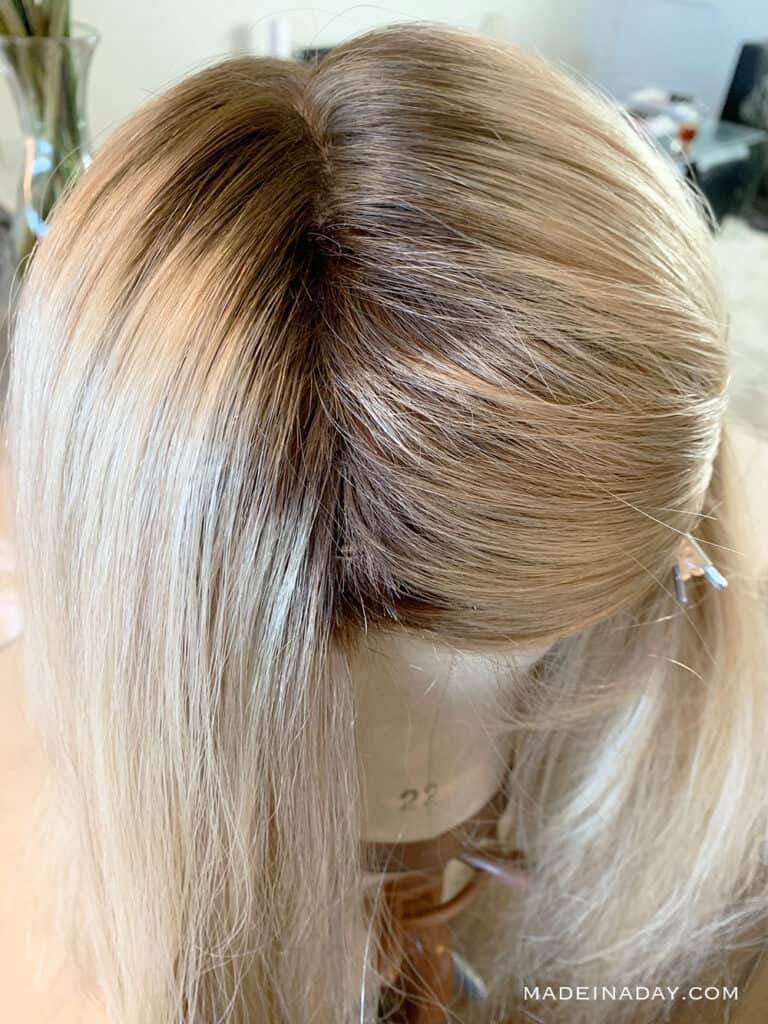
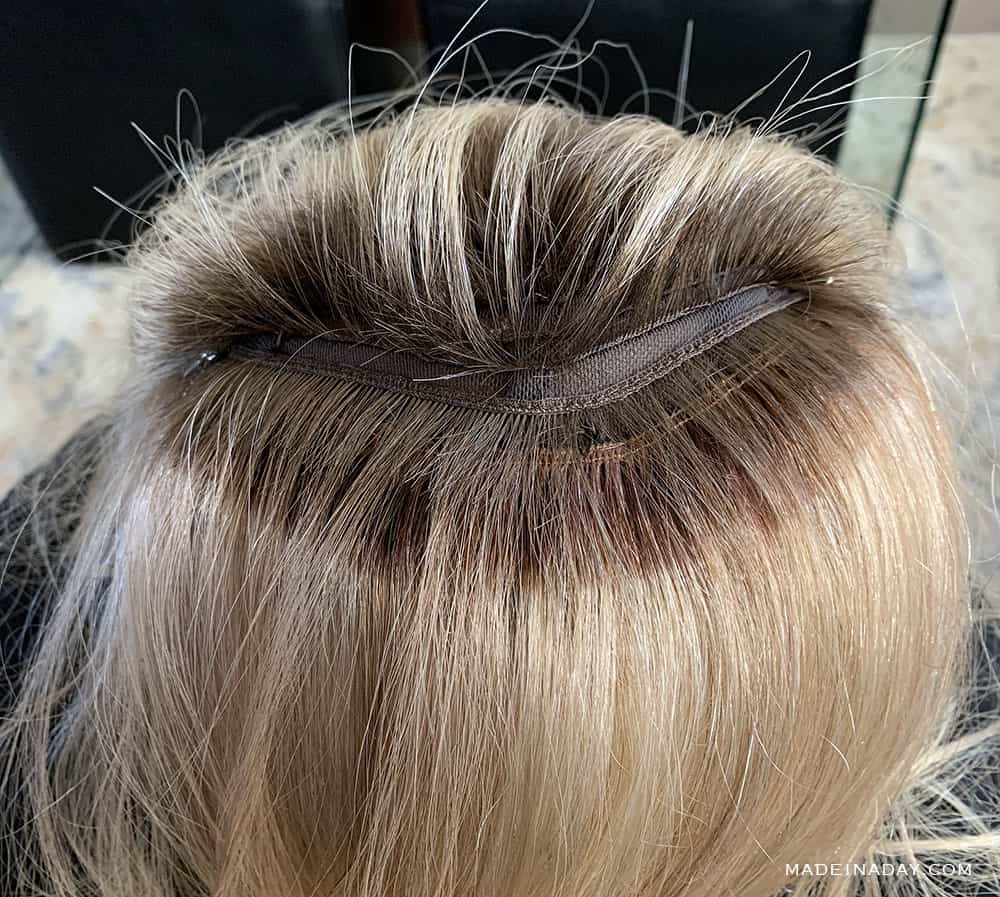
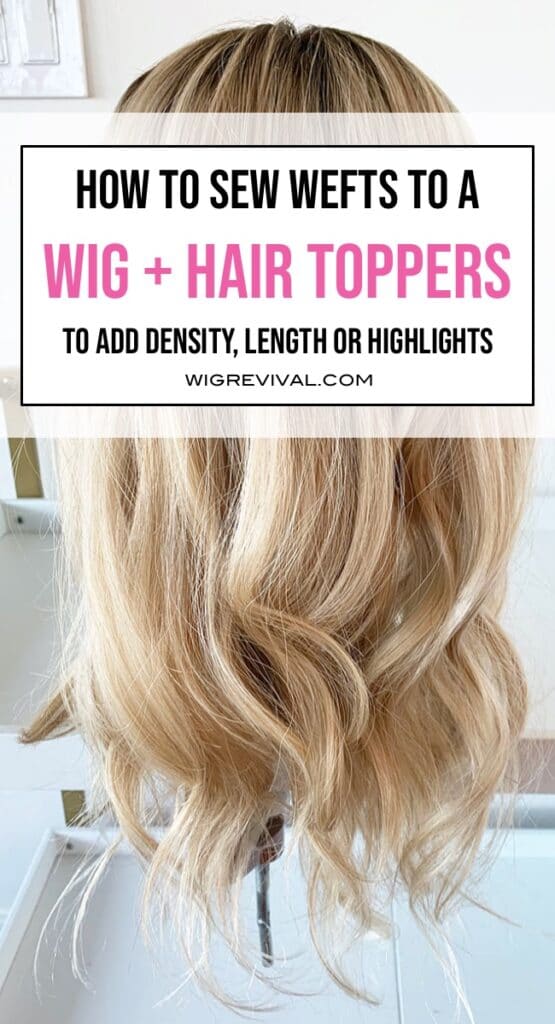
Here is the topper all finished with the new wefts added. It blends perfectly! Sewing in the wefts worked like a charm!
Not into sewing? Some people have tried using used tape in hair extensions for a quick way to add volume or length!
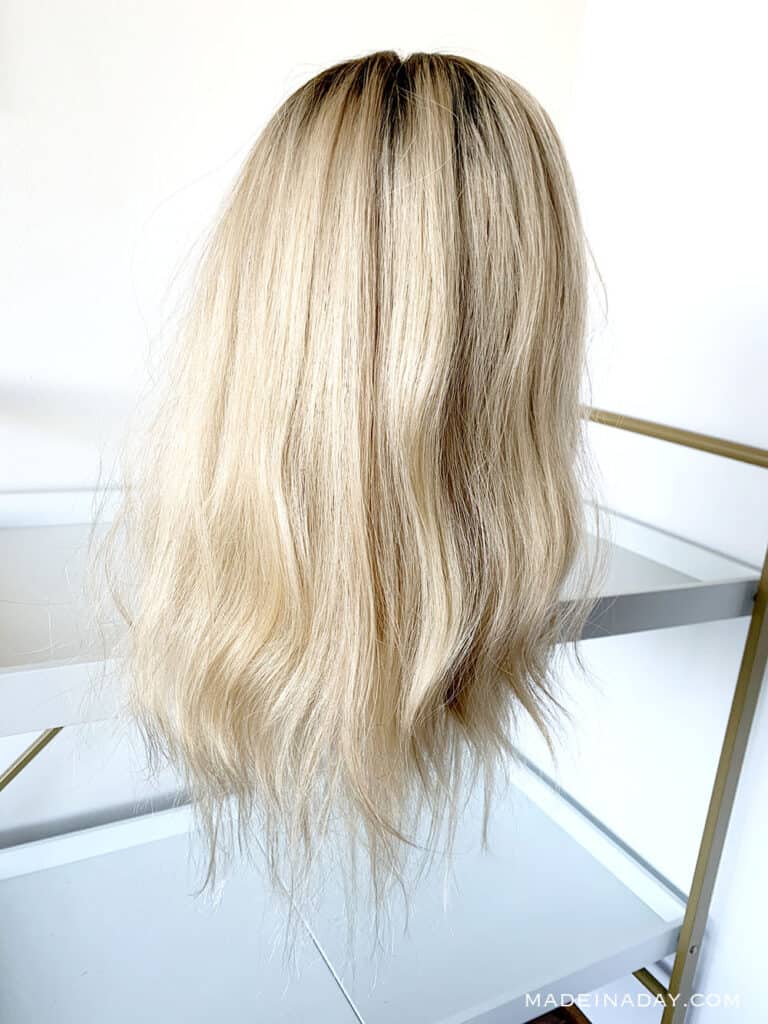
Brush the hair out and trim the wefts if needed. I left mine untrimmed for thin, natural-looking ends.

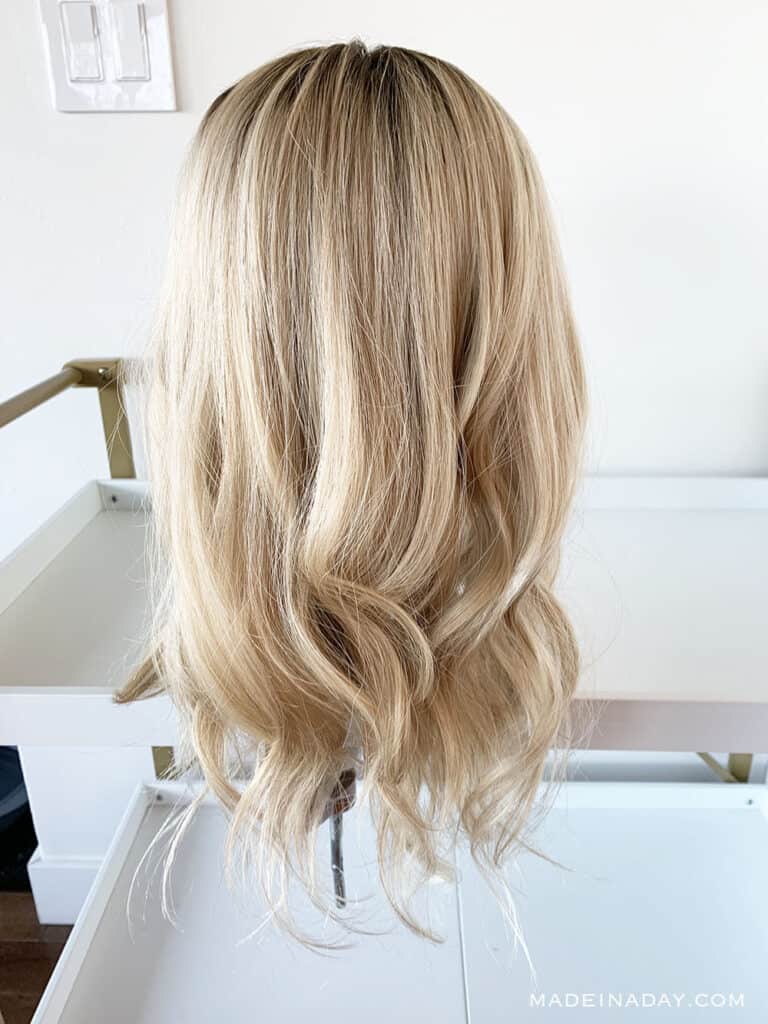
I am so thrilled with how this turned out. I no longer feel the wefts under the crown, and the extra length is the bomb! I have my mermaid hair! One thing that was surprising, though, was the weight of the topper after adding the hair. It definitely feels heavier on my head.
I hope you learned how to customize wigs using hair extensions. This is a great solution for a thin topper, a slightly shorter topper, or maybe adding highlights to a wig. Get creative and have fun with it!
Confused about what all of the color codes are when buying a wig?
Grab my FREE eBook!
Join the NEW Wig Tips + Tricks Email Series
Do you have a wig you didn’t wear or just didn’t like the color? Join my FB group and sell or trade it with a wig sister! See ya there!

Love it? Pin it!

Turned out amazing! Thanks for sharing.
Thanks Sara!
The topper look beautiful! Thanks for sharing
Thanks Maria!
Wow the whole wig process is pretty amazing and the results look fantastic!
Thanks Michelle, I was a hair replacement tech in my former life.
Hi
It looks beautiful!
I need help with mine…
hi Kim!
I have progressive hairloss and bought my first (sadly also very expensive hair topper) a few years ago. I was hoping you would have an instructional on how to replace the topper cap and also add lacefront to a regular topper that usually is meant to blend in with one’s hair… As I am losing more hair in the front now… it’s becoming impossible to blend.
any instructions or guidance would be greatly appreciated 🙏
sending love
Hana
Hi Hana, I do not know of a way to add a lace front or replace the inside cap of a topper to a larger one. You will need to purchase a new larger one to keep up with your hair loss. If the topper you have now is still in good shape you can resell it in the wig groups on FB or Instagram. The next step after a topper no longer works for you is a wig. There are lots of affordable toppers that have synthetic fiber synthetic with lace in the front. Human hair is unfortunately a lot more pricey. I started with a small 6×7 topper and now wear a larger 7×9. I hope this helps.