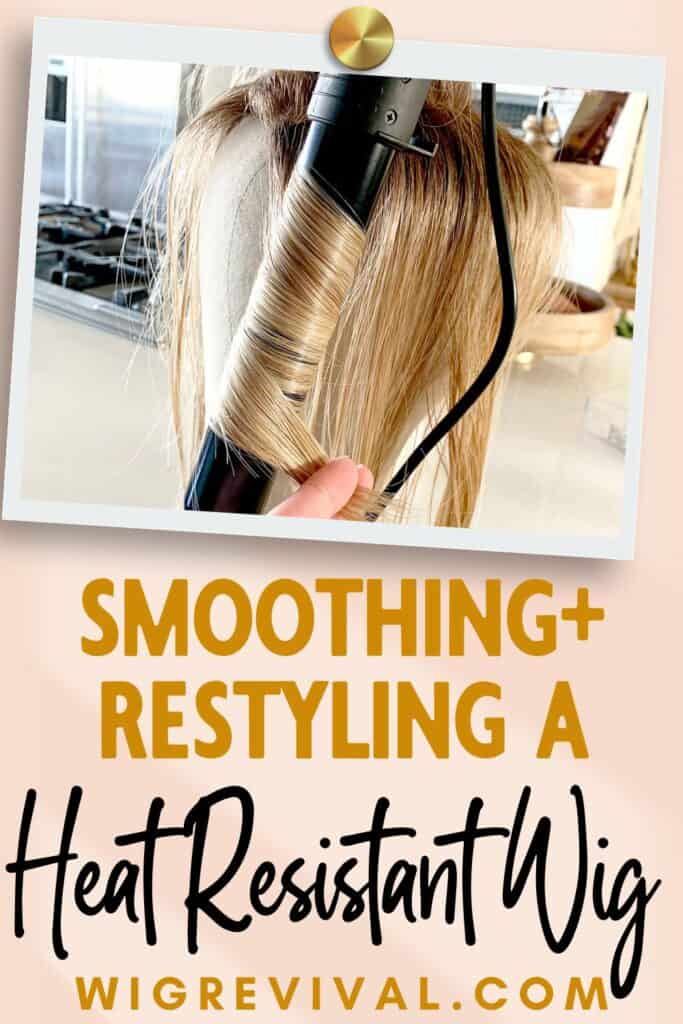
Restyling a Heat Resistant Wig
Disclaimer: Please note that some of the links below are affiliate links and at no cost to you I will earn a commission if you purchase through those links. See my Disclosure + Privacy Policy for more info. As an Amazon Associate, I earn from qualifying purchases.
Master the art of styling a heat resistant wig! Learn how to safely use heat tools to maintain fiber quality and get the most out of your heat friendly synthetic wigs. For more posts like these, see my Styling page.

Transform your wigs with our expert tips for caring and styling heat-defiant hair. Say goodbye to frizz and hello to sleek, stunning locks!
Restyling a Heat Resistant Wig
Wigs and hair toppers come in three different fiber types.
- Synthetic fiber
- Heat Resistant synthetic fiber (AKA heat-friendly, heat defiant)
- Human hair
Over the past 50+ years, synthetic fiber has been the leading man-made fiber for wigs. Then in the mid-90s, heat-defiant (HD) fiber made its debut, offering more styling flexibility.
Today, heat resistant wig fiber has become one of the most popular choices for wig manufacturers since it can be molded into styles using heat.
While shopping for wigs, you may see the hair type called heat-defiant (HD), heat-friendly, or heat-resistant synthetic fiber. First off, let’s define what heat-friendly fiber is exactly.
Heat-defiant fiber is not your ordinary synthetic wig fiber. Different manufacturers make different types of deniers, or thicknesses, of the fiber.
A very popular type is Furtura fiber. It has a fine hair denier and is super close to the look and feel of human hair with low shine. There is also Bio Futura fiber, which has a thicker, rougher, coarse-looking denier. It, too, is a fan favorite because of how realistic the fiber looks and also has, low shine.
Heat-friendly fibers are much finer in denier than the regular synthetic fiber, and they can withstand heat appliances up to 350°F/180°C. That means it can be styled or maintained using heat to keep the fiber looking new.
Since heat-friendly hair has a fine texture, it makes it the closest match to the human hair fiber. This fiber is a more affordable alternative to human hair.
I love it because there is little to no wig shine (shiny fake-looking fibers), and you can change the style with everyday heat appliances.
The only downfall to Heat Resistant wig is the regular maintenance that MUST be done to the fiber to keep it looking smooth. If you are not very good at styling hair, there can be a learning curve involved. Thankfully, this post will help with that!
This post is a long one. I have tried to make it as easy as possible to teach you how to care for your wigs. Use the Table of Contents below to skip around if you like.
I have been wearing hair toppers and wigs for a while now. When I started researching hair fiber, of course, I wanted to go with human hair. But that comes with a hefty price tag. I ended up choosing a heat-friendly synthetic wig topper to start my journey
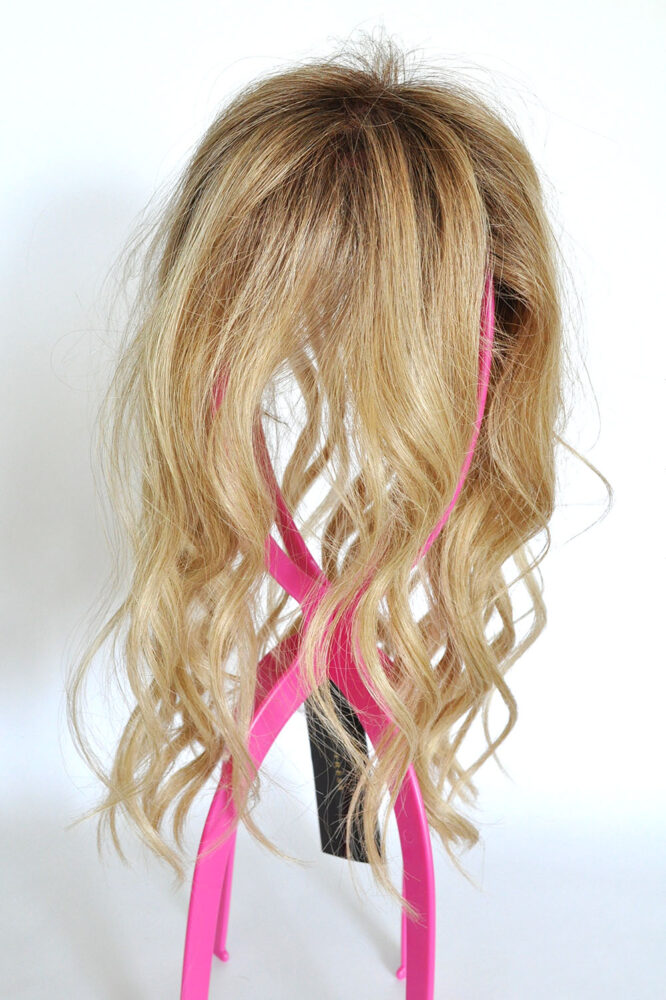
The first topper I tried was a Belle Tress Top Wave (seen above) it has a 6.5 x 6 base, lace front, and mono top. Above is the topper seen in the pics in this post. It has heat freindly synthetic fiber.
What Happens to Heat Resistant Wig Fiber
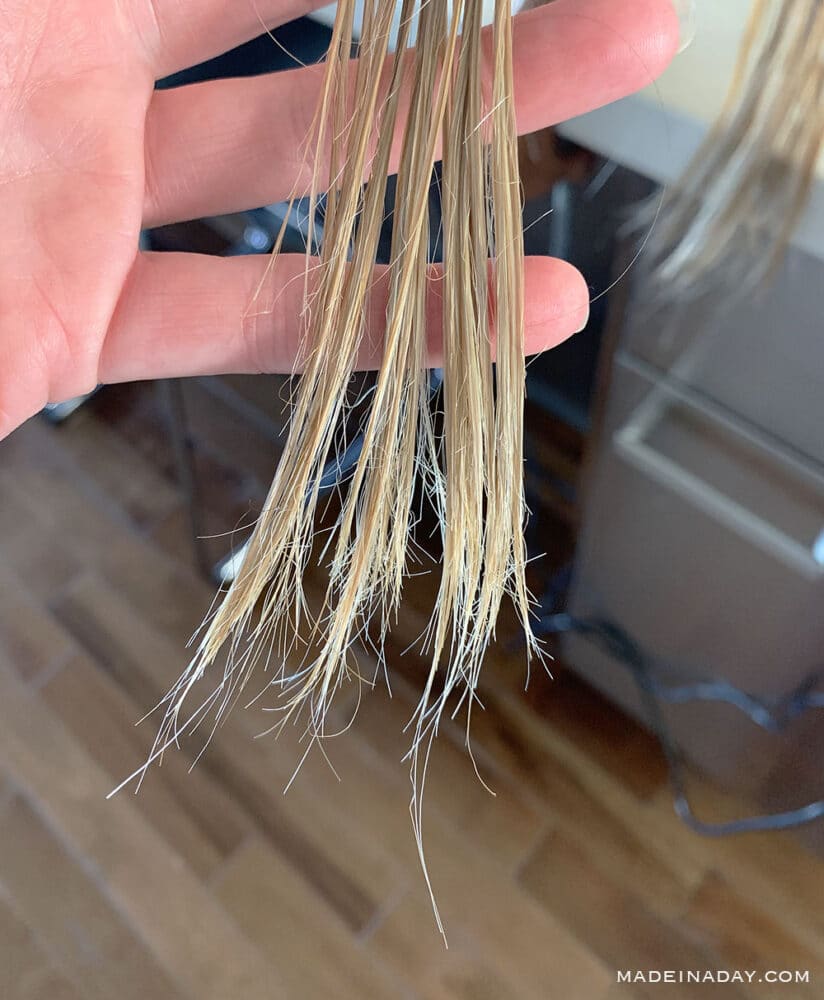
So, I know you’re thinking, just what does that mean, you MUST add heat to maintain it”? Here is what is going to happen to your new silky heat-defiant fibers after wearing them a few times.
With heat friendly synthetic wigs, you are going to get possibly 5 to maybe 10 wears (depending on the brand) out of your topper/wig, then you will start to see the ends looking and feeling dry, rough, and frizzy. Your wig will be matted and frizzed at the nape. The fibers will be stuck together or clumpy. This happens from the friction of your clothes, conditioning sprays and body heat.
The longer the length of the wig, the more matting and frizzy ends you will have. To fix this problem, most people give up and throw the piece out, or they will be tempted to cut those frizzed ends off. DO NOT DO THAT! You can revive them!
You can fix the fiber to look like new! I want to show you how to do it and how to take care of those expensive wigs and hair toppers. They can last for months or even years if you treat them properly.
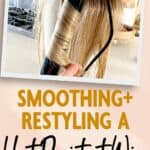
Styling Heat Resistant Wig Fiber
Styling heat friendly synthetic hair is such a game-changer, seriously. It gives you way more freedom compared to traditional synthetic wigs or toppers. You can use your flat iron, curling wand, hot air brush, steam, hot rollers, or even a blow dryer! Which is awesome if you like switching up your look.
But here’s the thing: just because it’s “heat-friendly” doesn’t mean you can crank up the heat like you would with real hair. You still have to be a little cautious. I always stick to low heat settings (usually around or under 320°F) and work in small sections to avoid frying the fibers.
Trust me, once you get the hang of it, you’ll love how easy it is to add curls, waves, or sleek straight styles to your synthetic pieces.
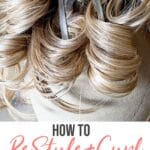
How to Re-Curl Heat Resistant Synthetic Wigs
This tutorial is how I re-curl my heat friendly wigs after smoothing the frizzy ends, or when I need to change the curls’ direction, make them tighter or more defined.
I also have a post on how to curl a synthetic wig. All of the ways to curl synthetic fiber in that post can also be used on heat resistant fiber, too! So check it out!
Supplies:
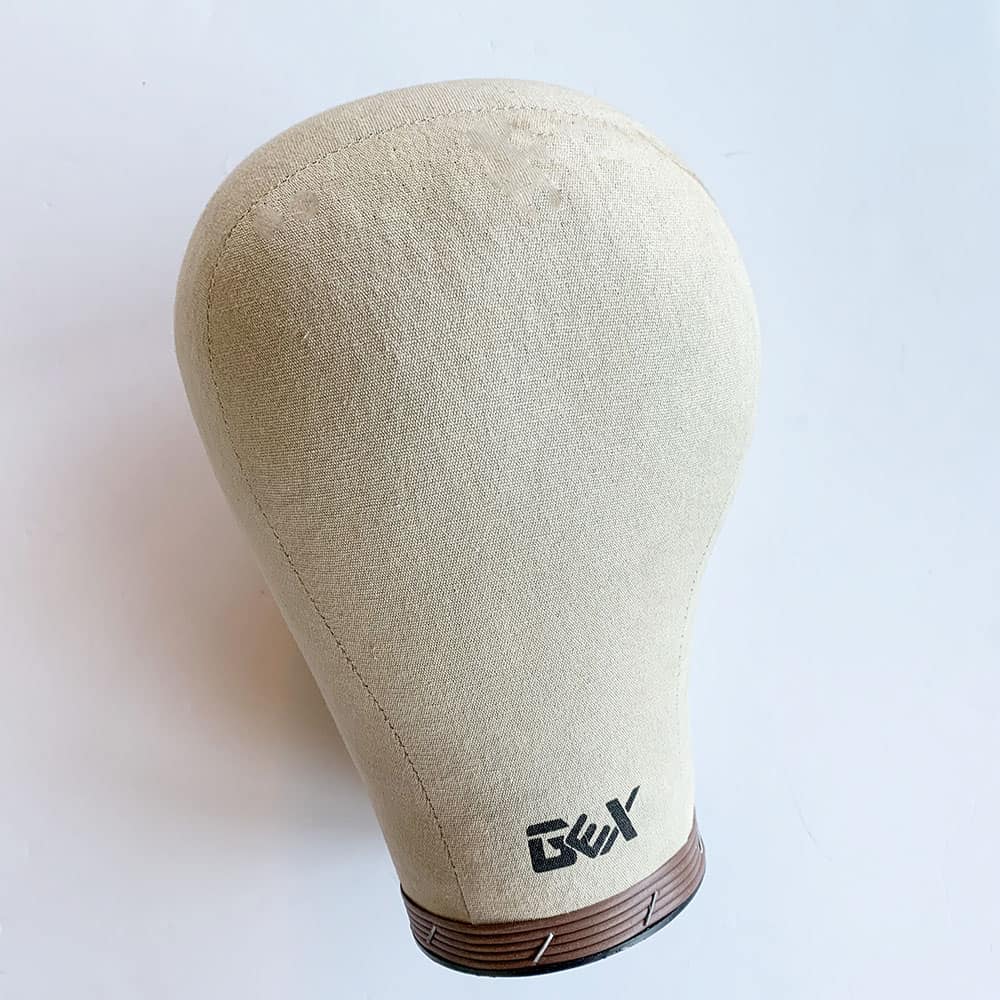
- Canvas Block Head or Styrofoam head
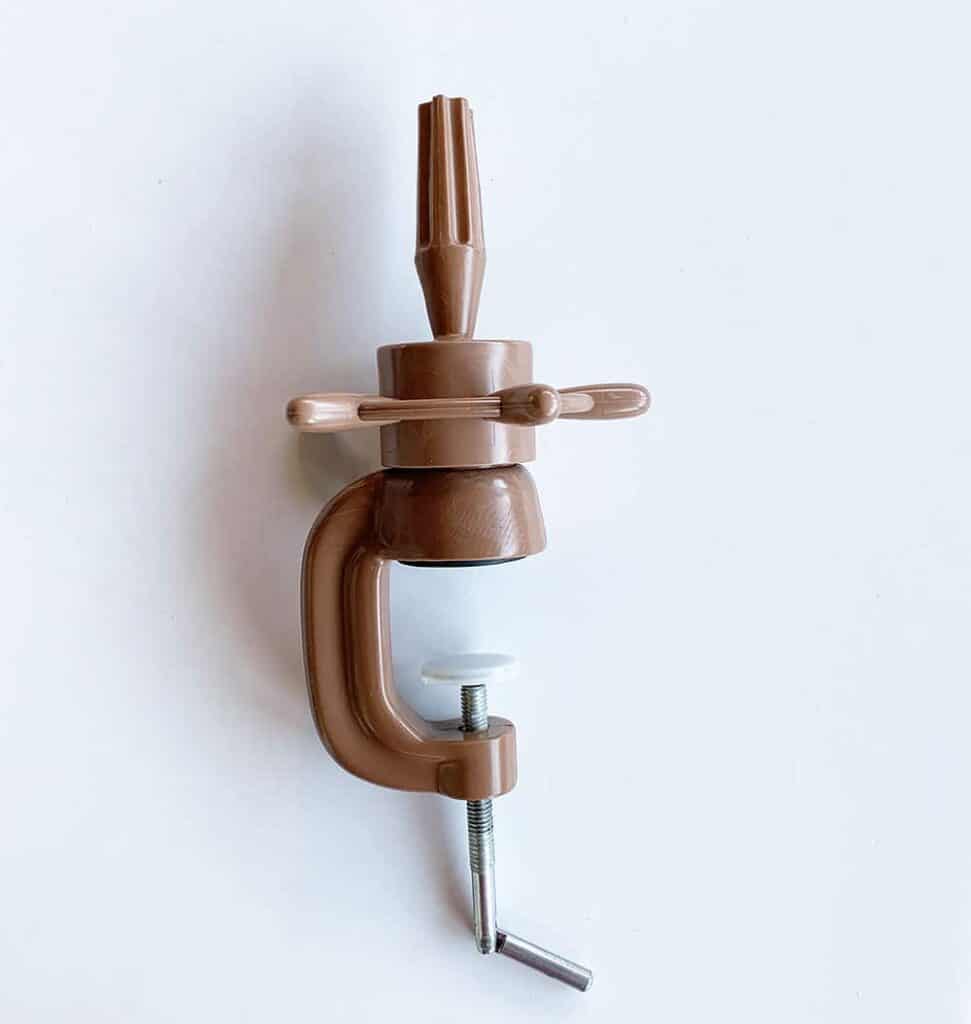
- Wig Clamp
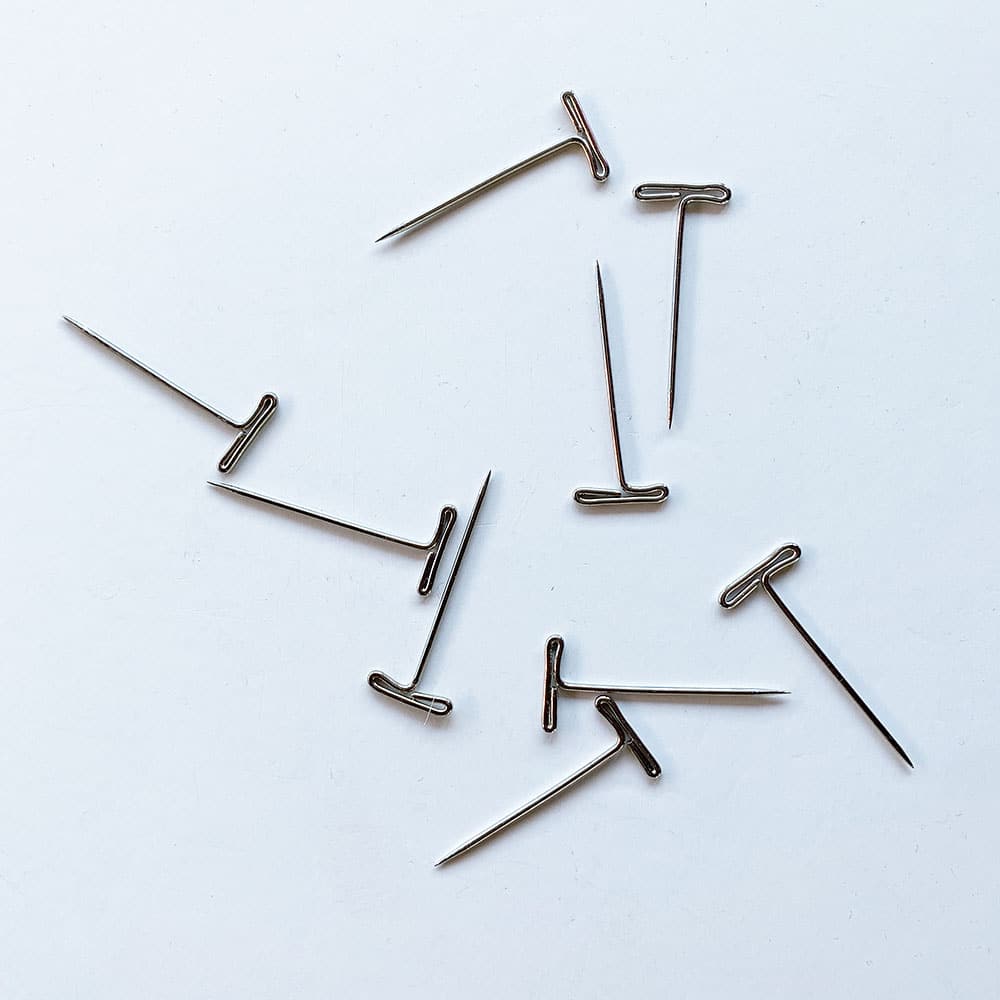
- T-pins
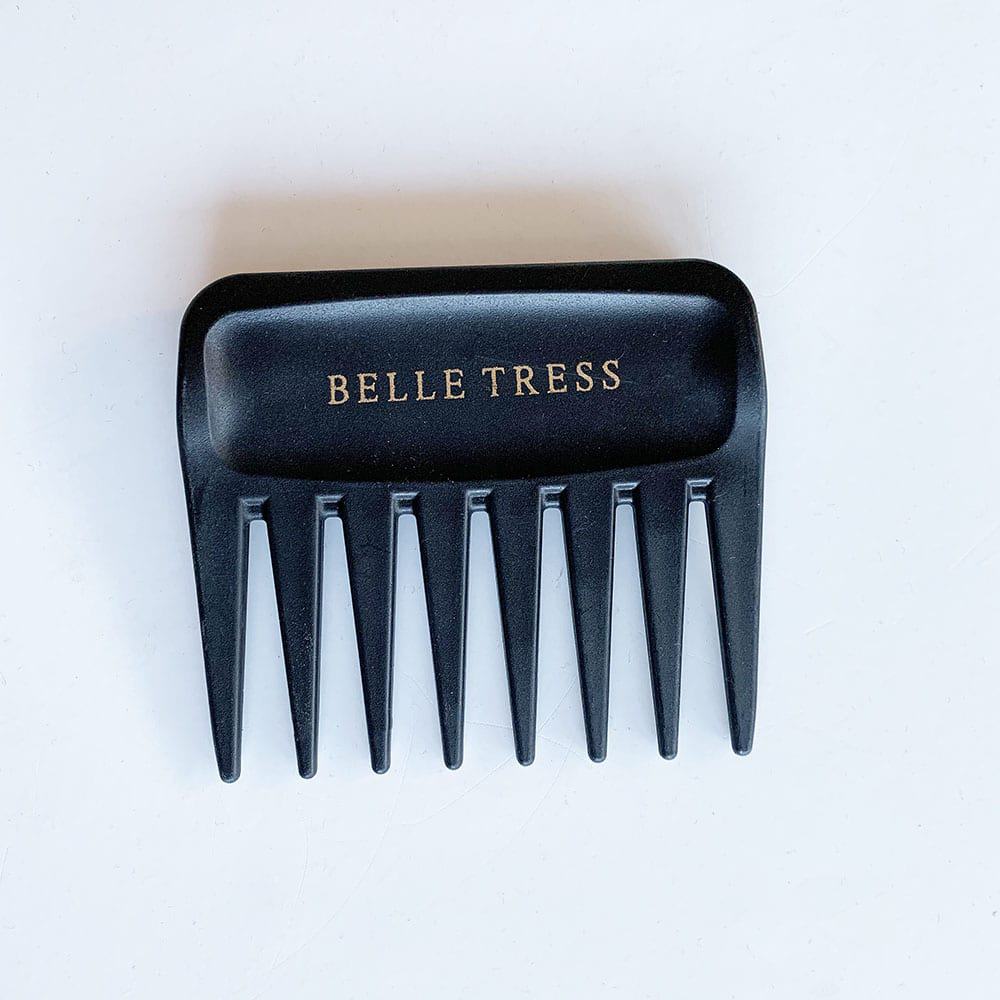
- Wide-tooth Wig Comb
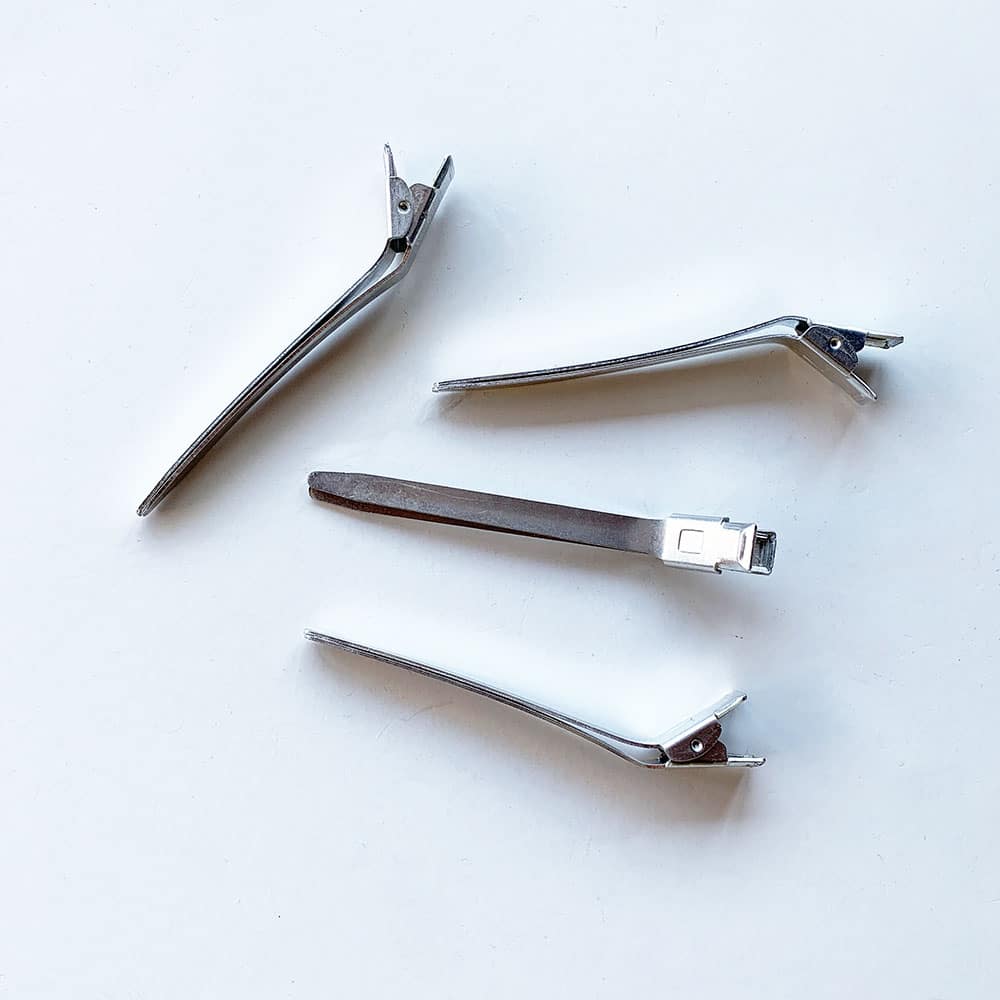
- Smooth Duckbill Clips
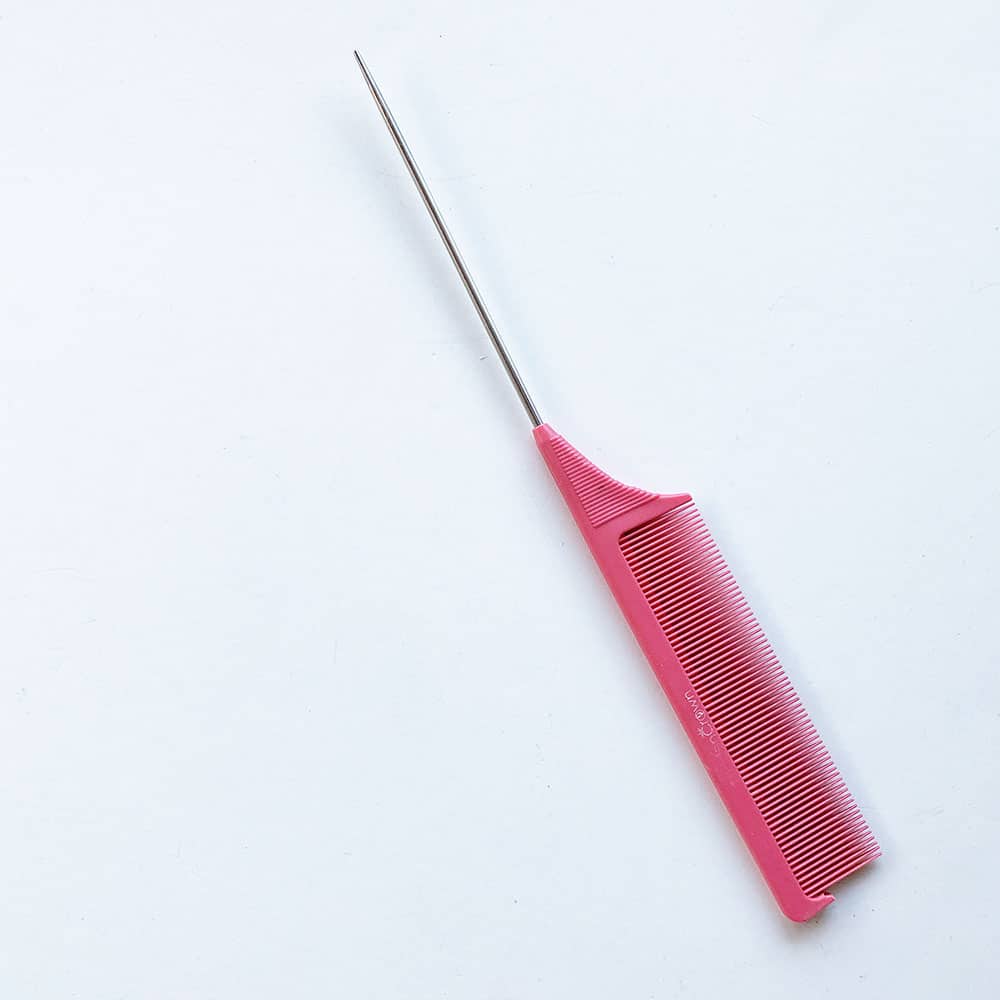
- Rattail Comb
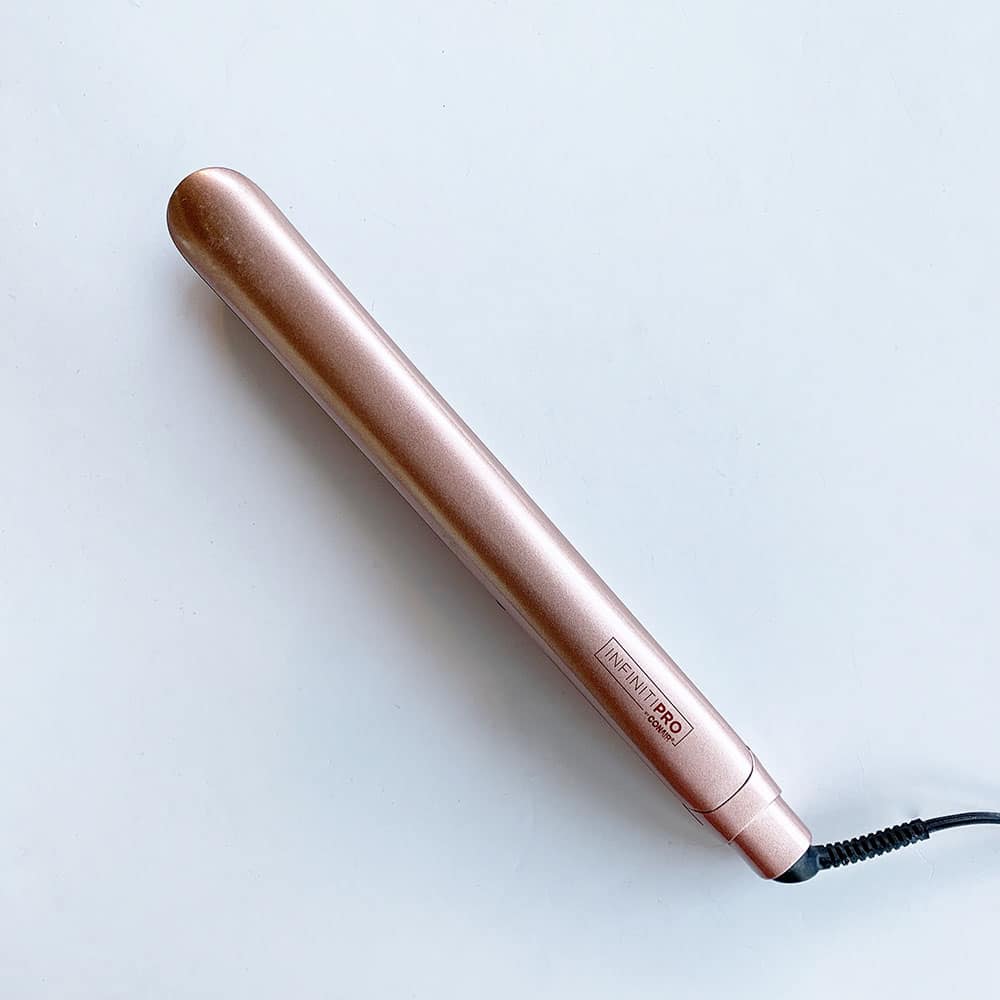
- Flat Iron with digital heat settings
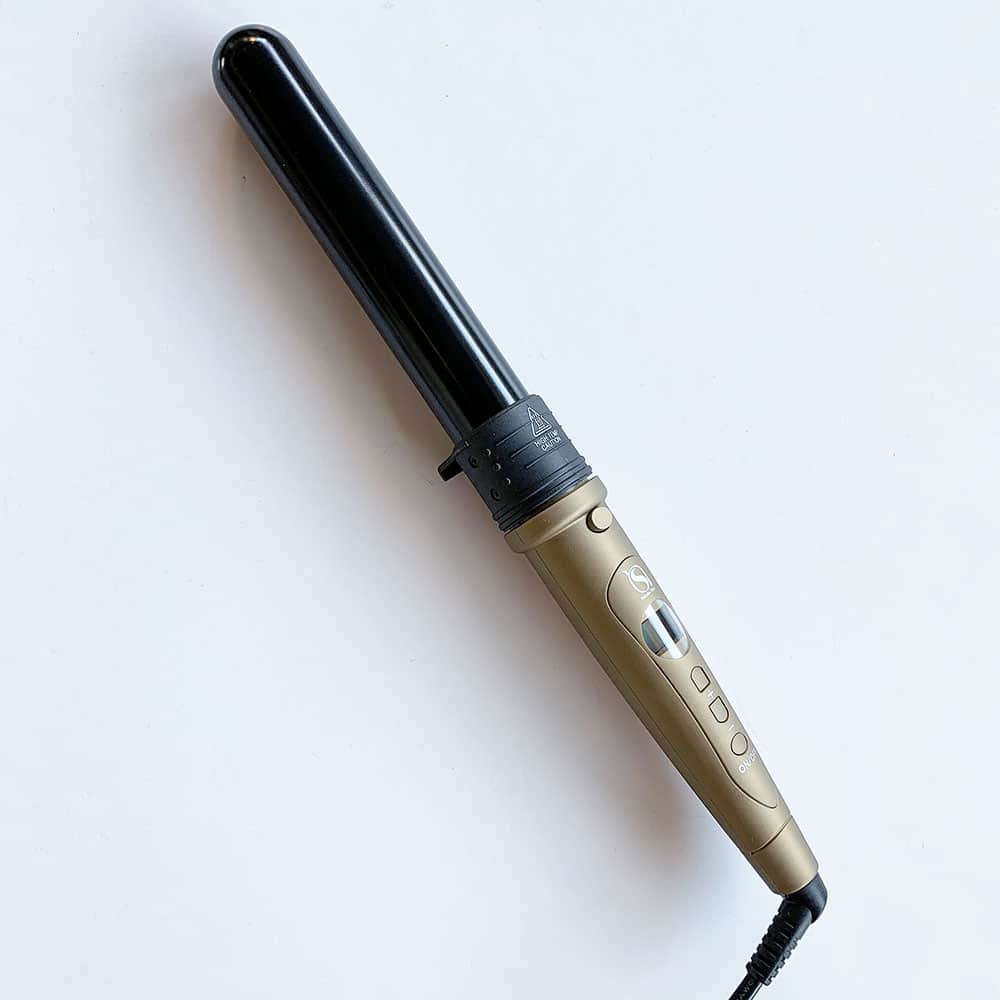
- Curling Wand with Heat Glove with a digital temperature gauge
- Curling Iron with digital temperature gauge
- Water in a Spray Bottle
Before I Start:
I do not use any spray-on conditioners when heat styling the fiber. I only use water.
Here’s why. The more conditioners, thermal sprays, or silicone conditioners you put on this fiber, the more build-up you get and the faster the fiber clumps, and you will need to shampoo it again.
I use a spray bottle to dampen the fiber with water when re-curling and straightening the ends, because for me, it seems to make the curls smoother. I’ve tried using flat irons to make curls but I always end up with demarcation lines or odd looking curls.
I also do a bunch of other styling tricks, like prepping a new wig, changing the part, curling the front pieces away from my face, or just smoothing out heat-friendly fibers. I do all of that without water on DRY Heat friendly fiber. I use a hot comb, a blow dryer, and an air flat iron. I’ll be sharing more details and tips on how I do all of that in an upcoming post, so stay tuned!
Instructions:
- Start with a wig or topper that has been freshly washed and rinsed, mount it to a canvas block head, and pin it down on the sides near the edge or comb sections. Not to the lace front.
- Gently comb the hair fiber out with a wide-tooth wig-type comb.
BEFORE YOU PROCEED, A WORD OF CAUTION: Heat Resistant fiber can be permanently damaged with heat appliances while styling if not done correctly. If you do not feel comfortable attempting to try these methods, please seek a professional wig stylist to assist you in styling your wigs.
DISCLAIMER: Kim Purvis, Wig Revival, Made in a Day, and the Purvis Group LLC are in no way responsible for damage to a wig or hair topper using this advice.
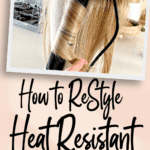
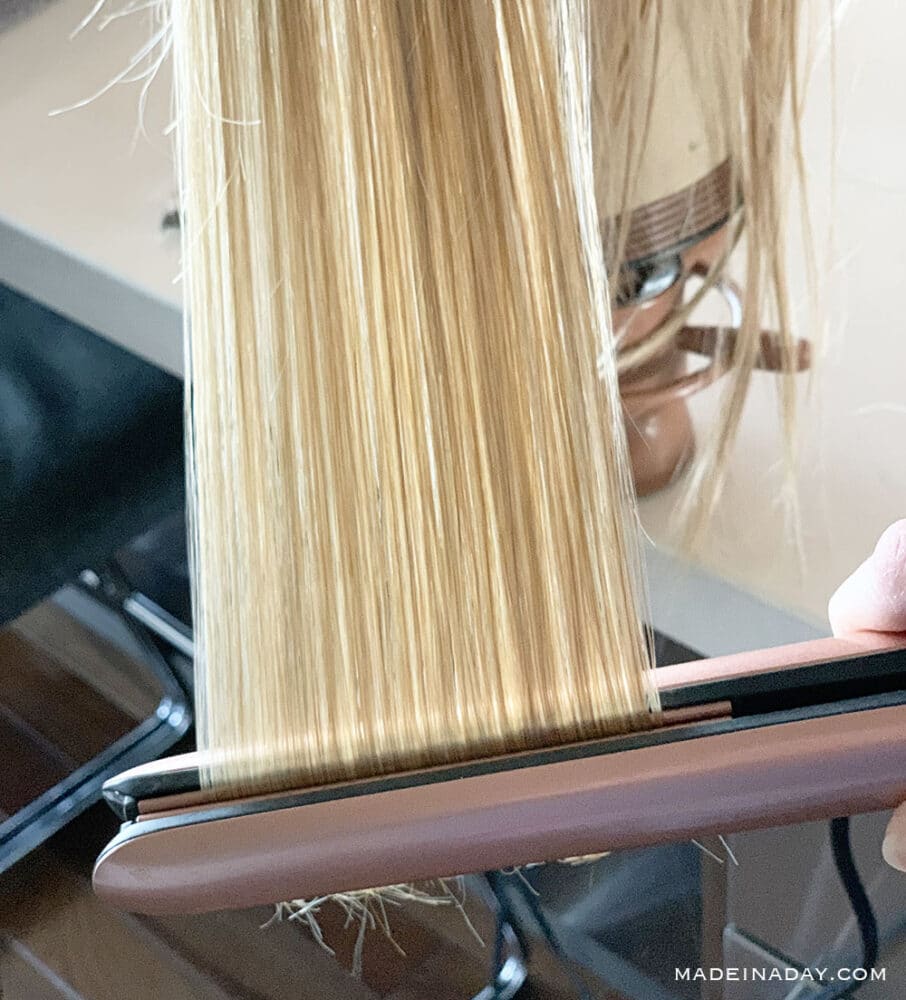
Step 1: Smoothing Frizzed Fiber
- Preheat a flat iron to around 320°F (NOTE: some fiber can be heated up to 350+, see wig fiber manufacturers’ recommended heat before starting this tutorial). I go with lower heat to be safe, and so I am not so hard on the fiber.
TIP: Do not put heat appliances like a flat iron on the roots of the hair near the part, crown, or top. You want to keep the root areas full and fluffy, like they came when they were new. You are only working on the frizzy ends of the fiber so you can restyle them.
- Section off two rows, a top and a bottom section, on the hair topper. Use clips to section off the hair.
- Take small 2-inch sections starting at the front hairline and work your way around the head.
- Comb out each section about midway down to the ends with a rattail comb.
- While the hair is damp, spray water on the fiber and quickly run the flat iron down the strands 2-3 times until they are smooth.

When I smooth my HD fiber toppers to wear them straight, I smooth the hair starting from the top and then make a quick downward turn with my wrist to create slightly rolled under ends to the topper.
- Repeat with each section until finished. If you want the hair to be straight, then end the process here.
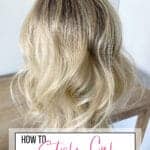
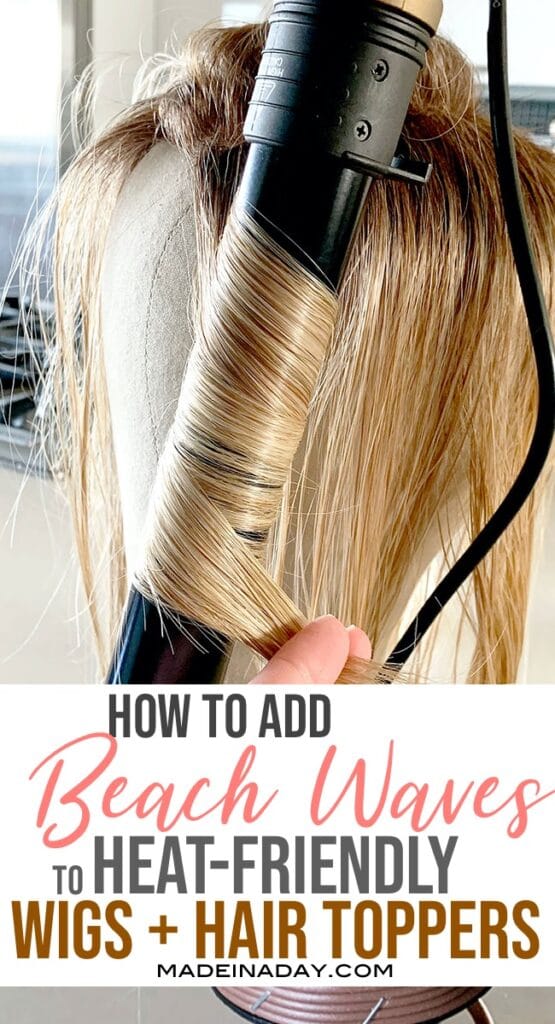
Step 2: Making Beach Waves
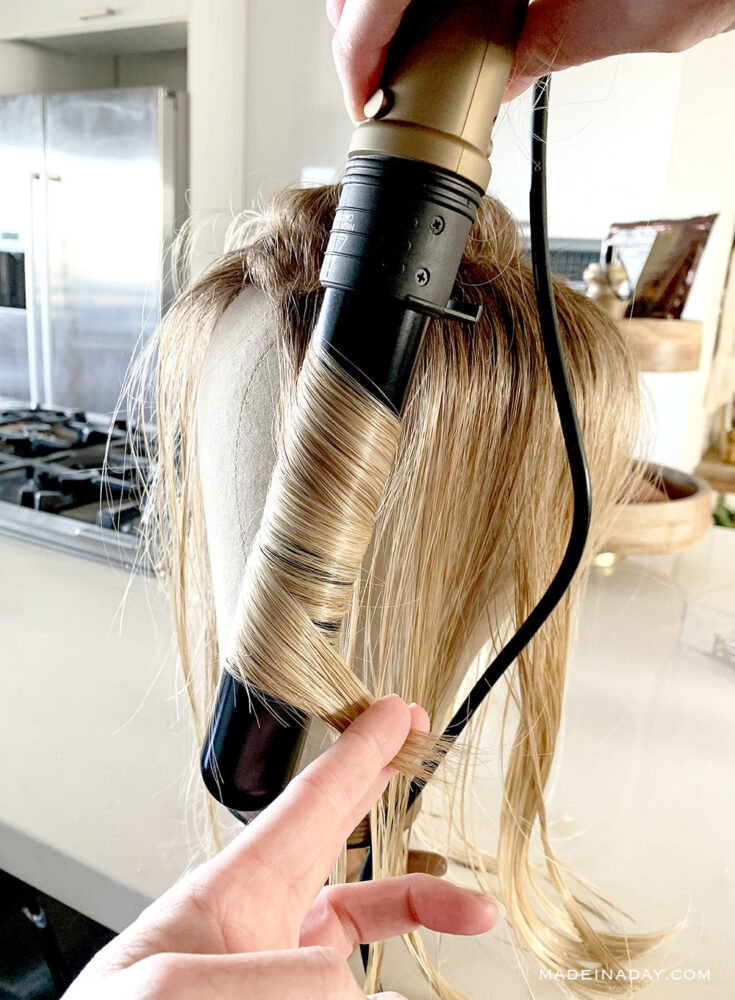
- Heat a curling wand or curling iron to around 320°F. Sometimes I go a little hotter if the curl is having trouble forming. Again, check your wig manufacturer for the correct heat allowance for your fiber.
- Take your first 2-inch hair section and, using a curling wand or curling iron, wrap the section of the hair around it.
I left around 2 inches of the ends out so they hang straight with no curl. (If you want the ends curled, wrap the hair to the ends around the wand.)
- Wait 5-10 seconds, then release the curl.
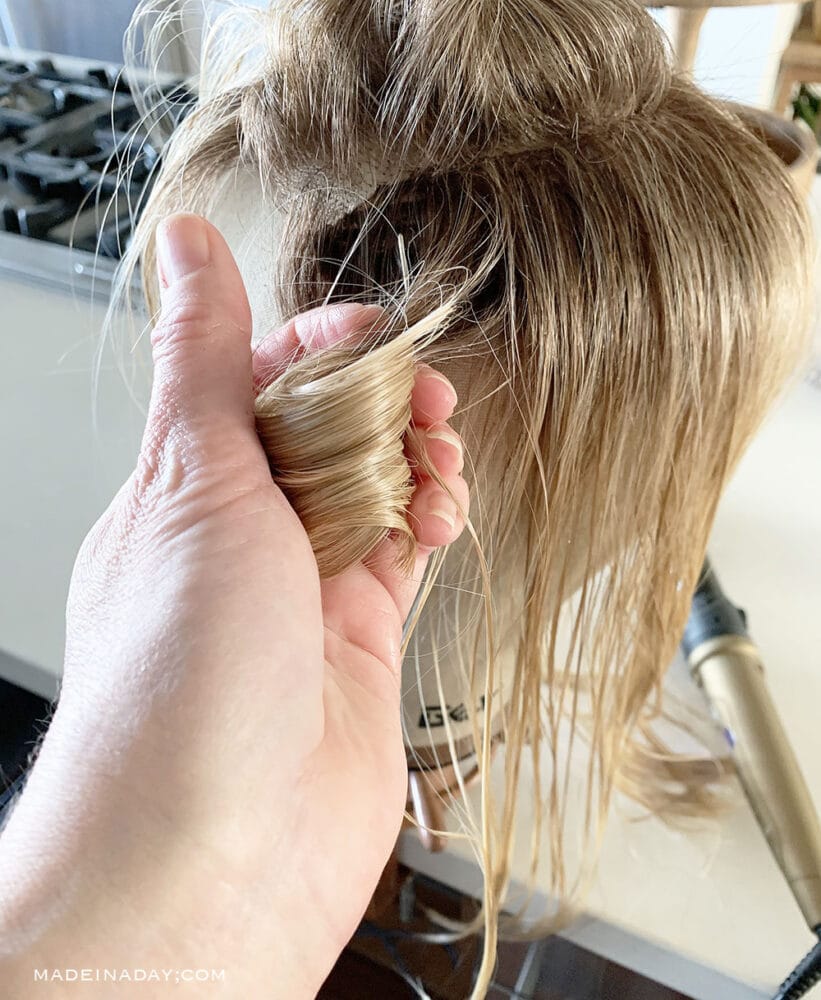
- Gently turn the wand in the opposite direction to release the hair while cupping the bottom of the curls with your left hand.
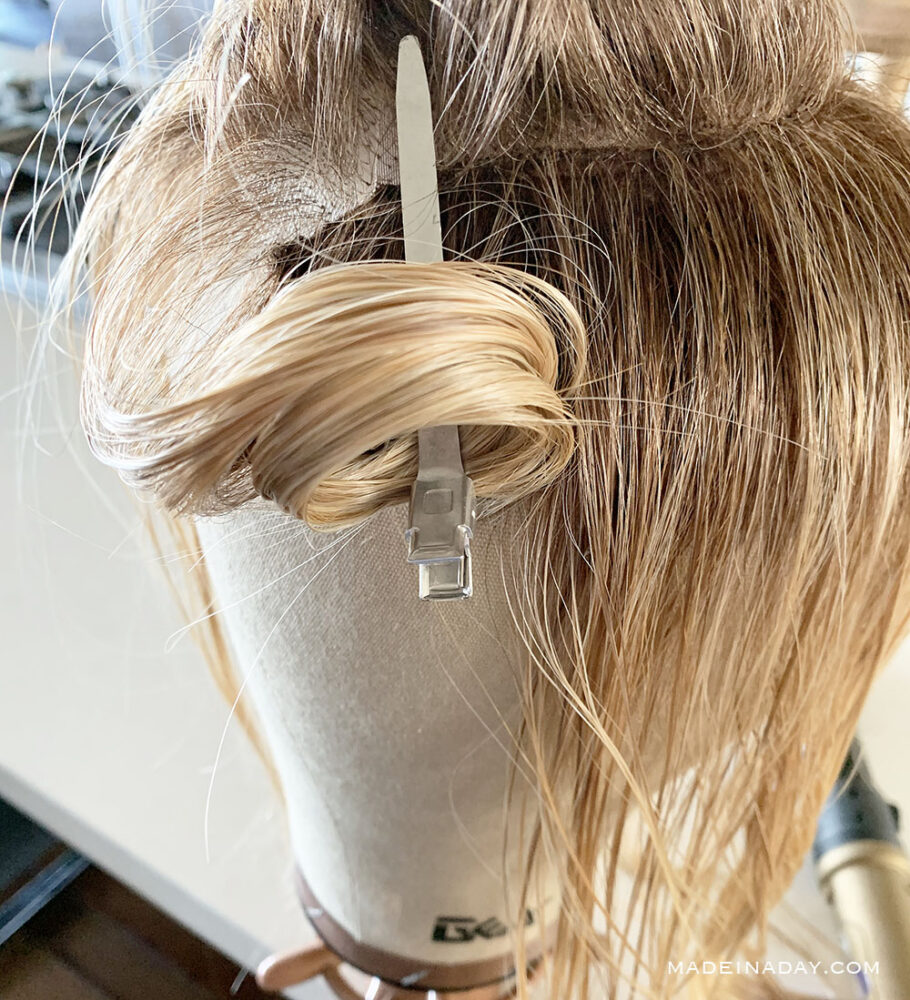
- Quickly grab and place a long duckbill clip through the bottom of the curl to the base of the wig to hold the curl shape.
Okay, so here’s the trick to getting those curls to stay bouncy and full. You’ve got to let them cool in shape!
If you want tighter curls, just clip them up right after curling and let them cool completely.
For looser waves, I just hold the curl in my hand for a few seconds and then let it fall.
If you do not let the fiber cool off while pinning or holding the curl tight in place it will not hold a curl and just fall straight down.
It’s honestly a bit of trial and error until you figure out how tight or soft you want the curl, but once you get the hang of it, it’s super easy to tweak your style!
- Repeat going around the head until all of the curls are in place.
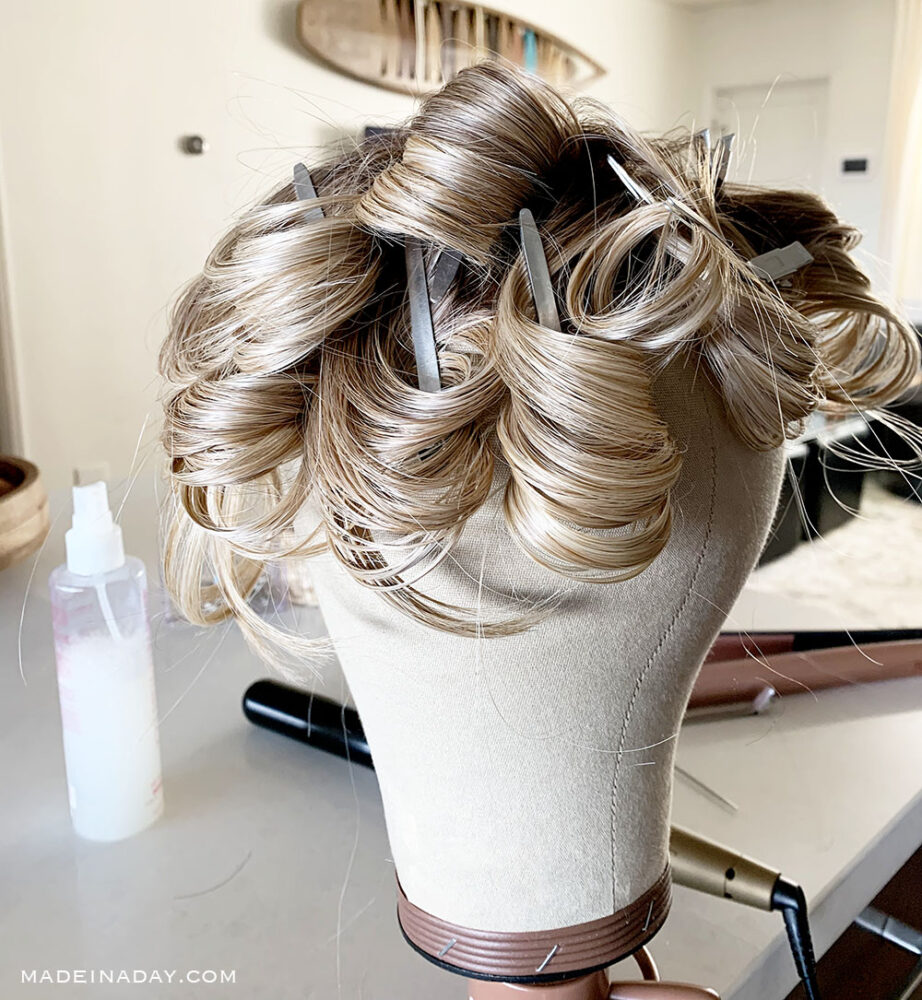
Step 3: Finishing and Storing your Wig
- When you are all done curling the fiber, let the hair cool and dry with the clips still in.
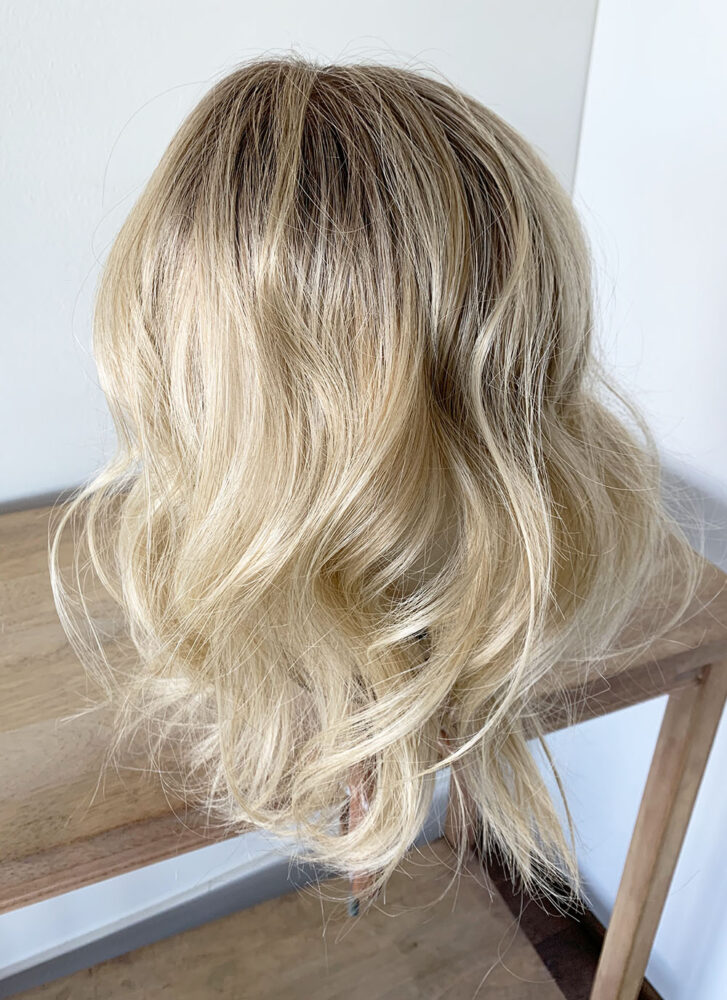
- Remove the clips and store the wig in a net to hold the curls toward the base while storing. This way, the curls stay firm until you are ready to wear the wig.
- When you’re ready to wear it, just shake it out and gently finger-comb or use a wig comb to separate the curls.
Conclusion:
One thing I do realize is that everyone has their own way of maintaining their wigs and hair toppers.
My advice is to try some of this method on an old wig or topper before ruining a new one. Practice makes perfect!
There are a lot of YouTube videos out there that show some variations of these methods. Do what is most comfortable for you.
If you are not comfortable attempting this type of stying your wig yourself, please, please, please take it to a wig shop and have them do it for you.
I wrote this post for all the newbies who think that once an HD fiber wig or topper has frizzed, it goes in the trash, or you have to cut the frizz off. That is not the case.
You can have your wigs or hairpieces for years if you take good care of them. Wigs are an investment, and if you are not great at styling, I encourage you to find a wig professional in your area and have them maintain them.
Do you have a wig you didn’t wear or just didn’t like the color? Join my FB group and sell or trade it with a wig sister! See ya there!

Love it? Pin it!
Confused about what all of the color codes are when buying a wig?
Grab my FREE eBook!
Join the NEW Wig Tips + Tricks Email Series
I’m wondering if using the Jon Renau Fiber Love Conditioning Spray is equally effective in keeping the hd fibers soft and frizz free as the Silicon Mix Bambu Creme Conditioner. Is there a difference? My toppers are becoming dry.
Hi Kathy,
The conditioning sprays are great but when your synthetic wigs get crunchy and dry the Bamboo Conditioner seals the dry parts of the fiber. It’s like a deep conditioner. Apply it to the fibers but not near the roots and leave it on for 20 minutes then rinse it out really well.